I'm the proud hostess at Shopping Our Stash this week and I've come up with a Tic-Tac-Toe (because I always love them... hope you do, too!):
Here's one of the cards I've made to share:
This was made using the top row and the far- right column.
Supplies:
Main panel was a background made a couple months ago and was just in background stack. It was made using a Hero Arts stamp heat-embossed with pewter EP onto some inexpensive watercolor paper and colored with Color Bursts in Burnt Orange, Yellow Ochre, and Sepia. After trimming the edges, I ran Distress Stain in Brushed Pewter aroud it to cover the white paper edges.
The matting panel was made also a couple months ago on the same type of inexpensive watercolor paper, but this was a scrap that I had gel-printed on using unknown paints... could have been Liquitex... could have been Distress... I just have no recollection of it!
The leaf is an old, old stamp-- one of the first stamps I think I bought as an adult. I bought this in Willits, CA, on a trip to visit Humboldt before I attended HSU. So it must have been back right around the year 2000... hmmm... I know I've used this stamp before, so it would be interesting to see the way I remember the story of this stamp from the past! Anyway, the stamp was heat-embossed on a scrap of watercolor paper in pewter and colored with Lindy's Stamp Gang Magicals in Dark Chocolate Truffle and Rudolph's Red Nose. Gorgeous. Then I fussy-cut it and inked the edges with heavily neglected Distress Stain in Brushed Pewter.
The "Thanks" was heat-embossed with Pewter as well on a scrap of the gel-printed mat paper.
That is it! I have some more to share this week-- let's just hope I have time! The abbreviated weeks always mess me up!
Thanks for stopping by. I look forward to seeing which way you'll play the tic-tac-toe!
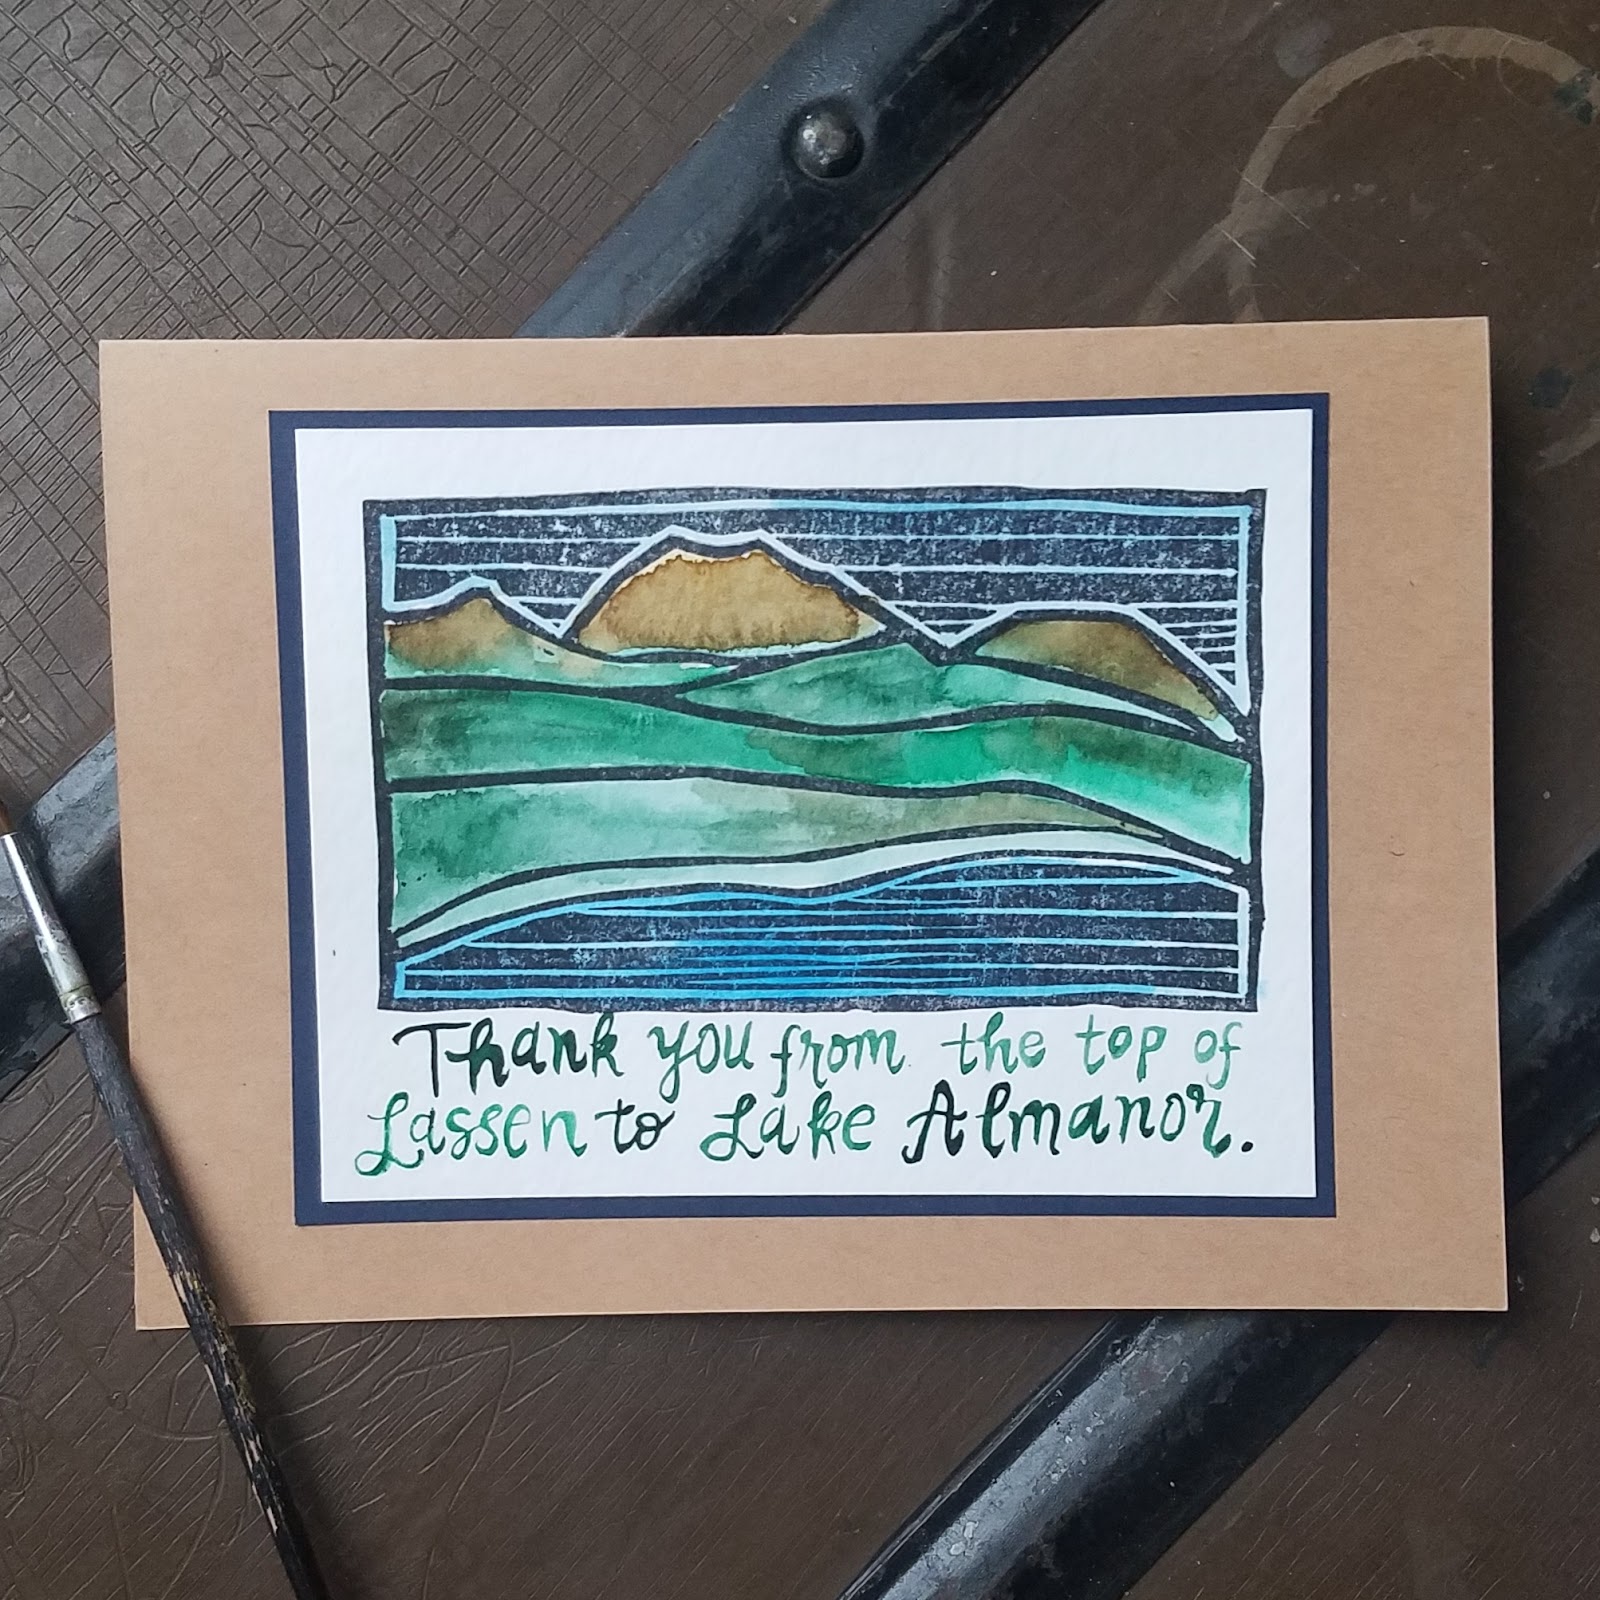
I made these cool background/panels with homemade stamps, and decided to try Tim's sentiments with them... I'd say they were a success! I personally love the graphic look of these, and the boldness and color IRL are just so aesthetically pleasing to look at.
Supplies:
All colored CS are from a bulk package from Tuesday Morning. It was fun to buy a mixed pack and pick through the random colors of cardstock.
Hand-carved stamp inked with Ranger Archival in Black Soot from the Tim Holtz palette
This week at Shopping Our Stash, Chris is our hostess, and she's chosen a theme for the challenge that is sure to draw a large crowd-- add a butterfly or two... or three... or four...!
I know that butterflies are many people's "thing"-- I do love them and appreciate them as a life form, but they are not necessarily my "thing" like birds or trees... however, when I started digging through my stash, I was surprised to find all kinds of snippets and a few stamps of butterflies! My focal, however, is a stencil:
Supplies:
Butterfly stencil by Heidi Swapp
Stencil placed on Strathmore watercolor paper and sprinkled with Color Bursts. Cut out when dry.
Background is also Strathmore watercolor paper. I used the butterfly mask that came with the stencil and applied Finnabair clear crackle paste around it (not my fave, so I am trying to use it up so I can try the Liquitex brand).
I then sprayed the panel with Dylusions in Pure Sunshine and inked it with Festive Berries DI through an old Heidi Swapp basket weave stencil
I used a Signo white pen (that I am babying because it is low) for the border
Sentiment written with white Liquitex gesso
Butterfly popped up with 3M dimensional adhesive
...and just in case you are interested in the soothing sounds of 1980...:
It finally came together, but every time I see it, I'm looking at it sideways... too off-balance? It's, like, hard to look at for some reason... I don't know. I'm confused, LOL! I wonder if Tim Holtz would cry if he saw it!
Supplies:
Tim Holtz resist paper inked with Dis in Picked Raspberry and Mustard Seed
This card will go to one of the people who helped with my MIL's memorial. Everyone was so helpful, but when we thanked them, they were all so humble about it, but in this situation, there were no small acts of kindness!
Supplies:
Recollections resist paper sprinkled with pigment powders
Lindy's Stamp Gang Magicals in Blazing Black, Poppin Pink, Tiffanylou Blue, and Silent Night Silver
Color Bursts in Violet
The trees were cut from Tim's resist paper using his Treeline die
Trees inked with DI in Black Soot and Chipped Sapphire
Try It On Tuesday: My favorite things... one of my all-time fave things to do is to play with powdered pigments using resist papers... I could do it for hours and hours on end.
Welcome to another fabulous week of stash-shopping fun at Shopping Our Stash! This week, Chris is our hostess with the mostest, and she is encouraging us to make the sentiment your focus!
Here's my submission:
Supplies:
These letter stickers are many years old by Basic Grey (my fave)
The greenery is from Tim's mini greenery dies, cut from a French dictionary from the 1800s and affixed with matte Mod Podge
The background panel is a scrap from my MILs old stationary
This is a thank you for once of the people who helped plan my MIL's memorial, which is today.
Color Bursts used through Tim Holtz's Flowers stencil (blue) and Roses stencil (red) then monoprinted onto Strathmore watercolor paper
The watercolor panel popped up with 3 M dimensional tape
Tim's found relatives popped up also. On the blue card I just edged the photo with a black Sharpie. On the red photo, I coated the girl with Distress Collage Medium in Crazing then edged it with Brushed Pewter Distress Crayon... click for detail.
Sentiment written with a Micron 08
I'd like to share these at the following challenges:
The idea is that you guys to create a thank you card quickly! "Quickly" is a relative term...
Supplies:
The main panel is actually letterpress paper cut from some fancy monogrammed stationary.
The focal image is a stamp by Andrea at Snapping Monsters. I have been thinking about this stamp set lately and so I went for it. I embossed this gal in Recollections EP in black. I used my trusty old Loew Cornell watercolors from my college days.
Sentiment written with a Zig emboss-writer and embossed with the same EP.
I used a tiny scrap of leftover Cosmo Cricket paper that I'd colored with Color Bursts for the top and bottom of the background. I am happy to use this up since I seem to love to accumulated background that I never completely use... although I'll miss this one because I think it is so pretty! See why I am a hoarder?
The main panel was popped up over top using 3M
Thank you for stopping by, and Happy Thanksgiving. My family dinner was yesterday... I ate so much that I had to stay up late working a jigsaw puzzle (should have been blogging, but I was totally in a food coma!). Whether you celebrate Thanksgiving or not, have a great week! Hope you can squeeze in some time to make a quick thanks with us at SOS! (I'll be squeezing into my stretchy pants!)
This week at Shopping Our Stash, our hostess Chris is encouraging us to create something based on this beautiful palette:
This is what I came up with:
Here are a few process pictures:
Supplies:
Distress Crayons in Festive Berries, Peeled Paint, Hickory Smoke, Fossilized Amber, and Rusty Hinge. (I was trying to use the Hickory Smoke with the Peeled Paint to achieve the darkest value on the palette, but it didn't work out as I'd envisioned... story of my life.)
I drew the fall wreath on some heavy Strathmore watercolor paper then used an old paintbrush with water to blend them a bit.
DecoColor paint pen in white was used to try to accent the wreath, but it ended up too glossy for my liking. To mask this, I added Stampendous Frantage in Shabby White, which actually was the best thing that could have happened since it resembles the Baby's Breath in the image. Love it.
The background diecut was from a David Tutera packet, purchased on clearance years ago. (I always think things like, "I wonder if Tim Holtz would read this and go, 'Haha, Mario... she bought Tutera's stuff on clearance!'" LOL. Anyway, I sprinkled it with Terre Verte Color Bursts and dried it on the wood stove.
The sentiment had been printed years ago. I just cut it out and edged it with the Tarnished Brash Distress Crayon.
I could see more going into a card like this in the future, but it's kinda nice and simple right now.
Hope to see your guys' interpretation of the beautiful color challenge at Shopping Our Stash, and please click the link to visit my stash-shopping homegirls' blogs as well!