Tuesday, November 29, 2016

SOS: Do the Bargello...

(...to the tune of "Do the hustle...")

This week at Shopping Our Stash, we are challenging you to use the Bargello technique.

Now, I been 'round the crafting block a time or two, but I had to look this one up... and it was fun! Come on and join in... 2016 is almost over... there's still time to try something new!


Supplies and notes:
  • Just so ya know, this is my second attempt.  My first try was too small and I had to scrap it and try again.  
  • Scraps were from my scrap bin which contains any paper under ~6 x 8". I reached to the bottom for the higher height-to-width ratios. 
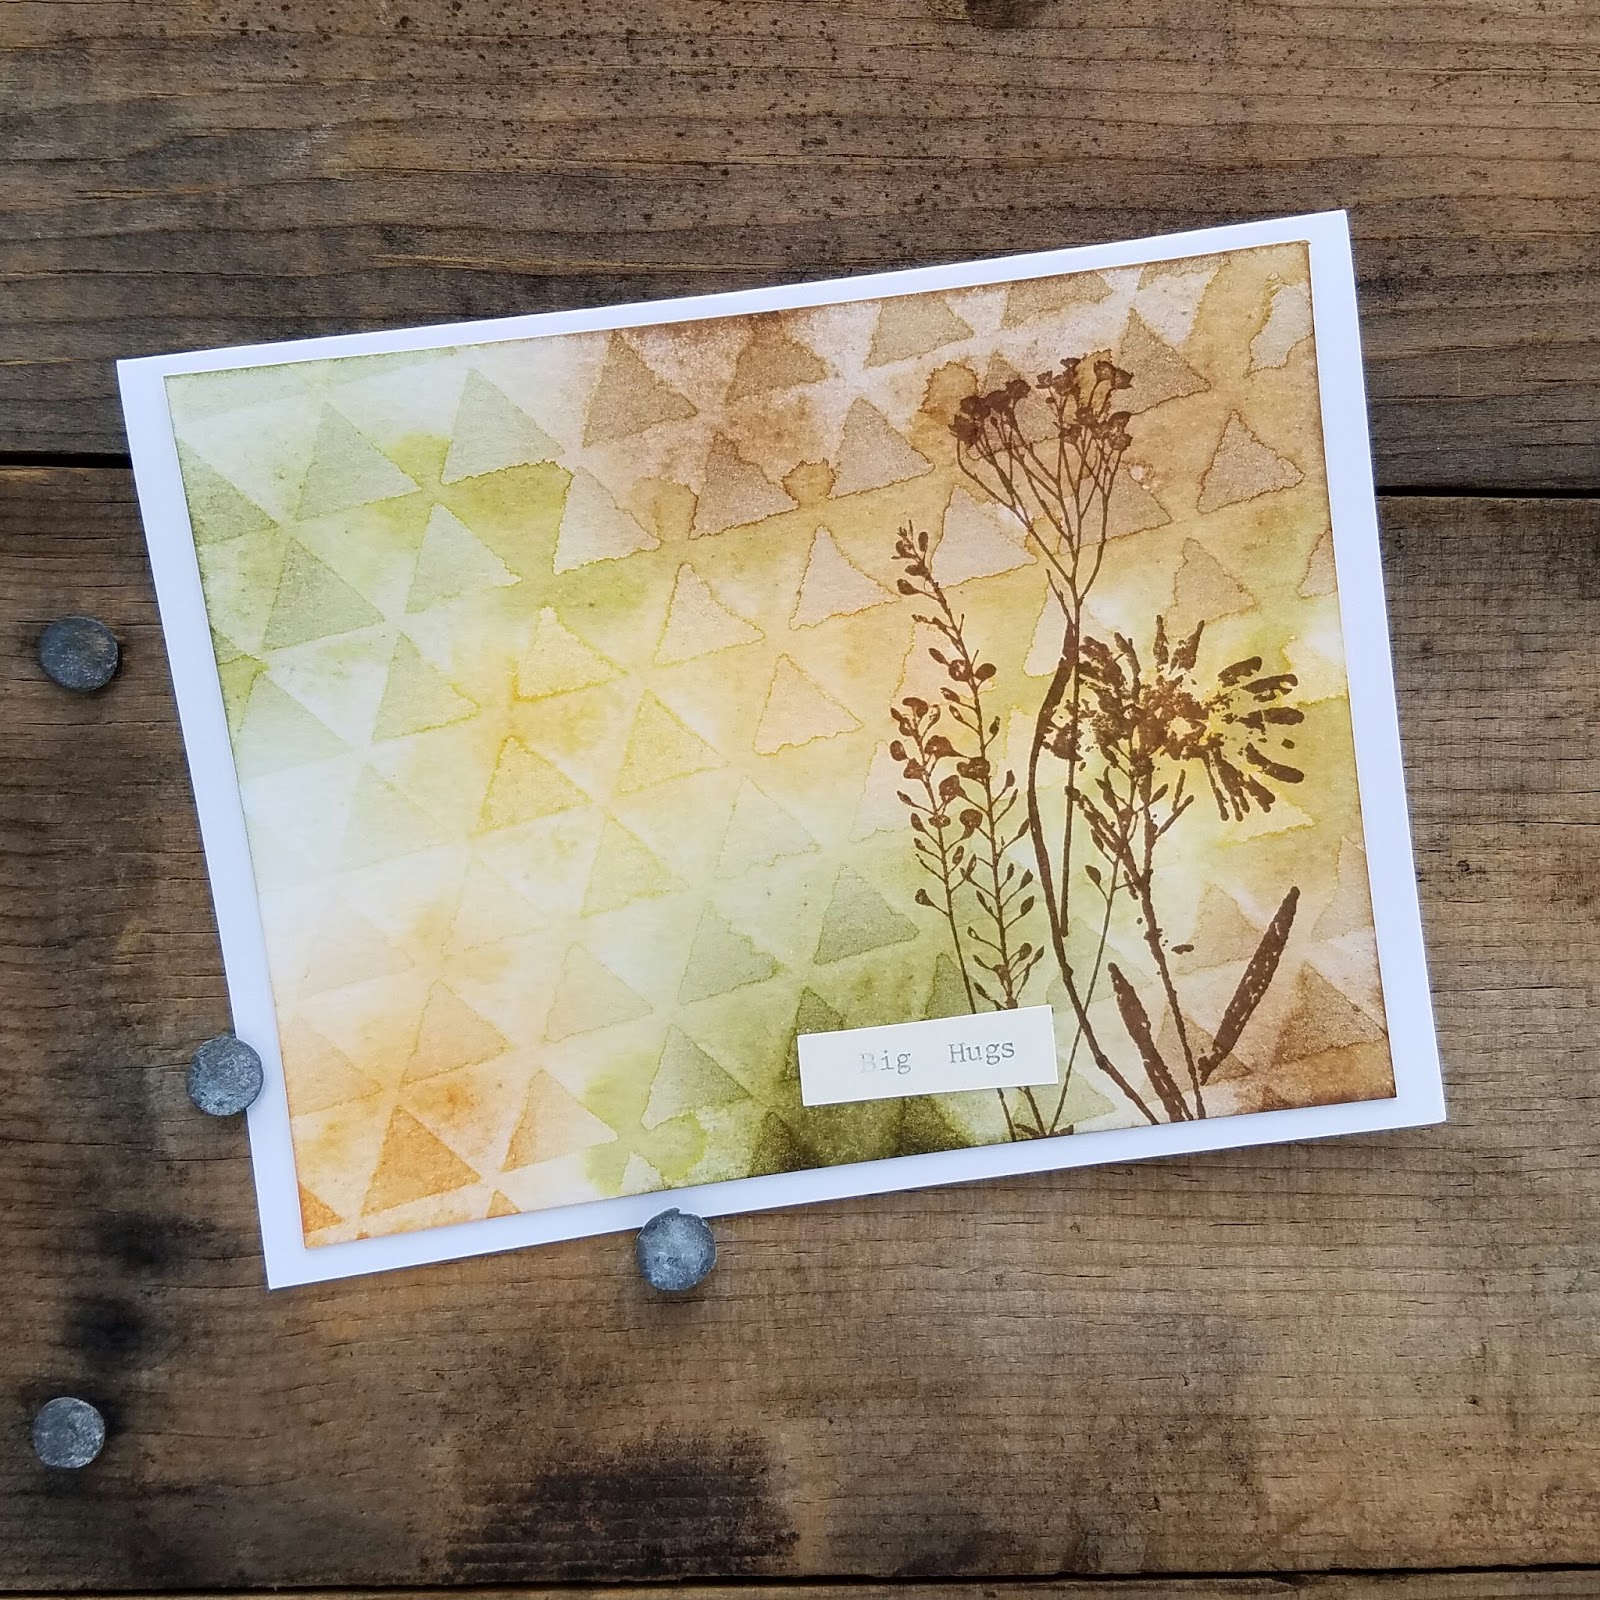
  • Both the "Hello" and butterfly diecuts are from Monika... what a doll. I inked them with Champagne Versamark and heat embossed with Stampendous EP in a pearly white. The butterfly tried to fly away while I was cookin' him, so I added some gesso polkadots to cover his boo-boos.
  • MY TIPS FOR BARGELLO:
    • Use a coordinating paper for the base because if you have any gaps they won't be as noticeable . 
    • Use lots of adhesive on the base! In hindsight, I would have used my higher-quality adhesive more judiciously and filled in the gaps with the cheaper stuff.  (I'm pretty cheap...)
    • Once done, I coated the entire Bargello panel with matte Mod Podge using a palette knife.  This step was well worth it-- a few ends kind of poked up where they missed the adhesive. The matte Mod Podge didn't warp the project or add a weird texture or anything.
Truly, this didn't take long time, and I think it was well worth the attempt(s),  If you arrived here from the SOS page, how did you feel about the Design Team plus our Guest Designer, Cornelia???  Freakin' rocked this one!  

Now go cut a few paper strips and paste, paste, paste,  Then: cut, cut, cut!  And then paste, paste, paste again!

Monday, November 28, 2016

HLS CASE in November

So, this month's CASE at HLS is a choice-CASE... players can choose any CASE from the past years' (I believe).  I re-CASEd the same card I CASEd earlier this year... what can I say? I guess my taste hasn't changed!

Here is my current card:


This is Kylie's card:

Here is the first CASE I did of Kylie's card:

Supplies from the current card:
  • Sentiment written on watercolor paper with a Zig Emboss Writer, then embossed wth black Recollections EP 
  • Dylusions sprays in Bubblegum Pink and Lemon Zest added to the craft mat with lotsa water, then the panel was smooshed.
  • Fiskars punch used at the corners
  • Viva Paper Pearls in Anthracite added for accent

Friday, November 25, 2016

Rustic (rusty) angel

Pretty sweet tag, huh?  I love shabby and rustic, though I haven't done much of it in the past couple years.


I  was inspired by this card by Ingvild Bolme for color and layout:

Supplies:
  • Watercolor paper inked with DI in Peacock Feathers and Scattered Straw 
  • Tim's Ledger Script stamp inked with his Mixed Media pad in Vintage Photo stamped randomly across the background
  • Heidi Swapp stencil inked with Gathered Twigs DI then sprayed and slapped on top as a monorint
  • White Liquitex gesso smeared around the edges then a layer of Distress Crackle Paint in Picket Fence added to a few spots with a thin-strip of an old giftcard. Later I touched up the Crackle because the Gathered Twigs bled in an unflattering manner... you know: pinkish-brown. Yucky.
  • Twine was wrapped around my thrift-store bingo card score a few weeks ago.  
  • The angel was another thrift-store find, at a different store.
  • The flowers are from three sources: Michael's, Hobby Lobby, and the big auction (flea market) in Roseville, CA... Denio's!
  • Stamen by Wilton
  • Tim's Mini Holiday Greens cut the the gold pine boughs peeking out... cut from Tim's metallic kraft-core
  • Doily is by Wilton, dipped in Vintage Photo and  Tarnished Brass Distress Stains. I then scrunched the doily to make it more of an oval to frame the angel.  (Up to this point, I planned to adhere this to a card... but I just couldn't.  I decided to add the remaining thrift twine as a hanging apparatus, and I'm totally pleased with this decision!) 
I'll share this at Anything But Cute:
I also want to share at STAMPlorations November Mixed Media challenge/stencil Sunday:

Feliz Navidad

I love using different languages on greeting cards, though I must admit: I can't fluently speak another official language...


Supplies:
  • Library catalog card base coated with Distress Crackle Paint through a Prima stencil then sprayed with Cut Grass Dylusions spray 
  • Amy Tangerine alphas inked with Distress Embossing ink and heat embossed with Ranger Princess Gold
  • The poinsettias were from The Dollar Tree last winter.  The stamens were removed and a sequin was put in each center, with a dollop of Liquitex glass bead texture paste to add a little interest.
I plan to share this at the following:


Colour Q

Here's a (couple) makes for the current Colour Q challenge:


Supplies and notes :

  • Gathered Twigs, Rusty Hinge, Scattered Straw, and Forest Moss DIs daubed onto letterpress paper
  • A Heidi Swapp stencil sprayed with water then laid onto the inked panel, then lifted and  dried
  • The "Thinking of you" is Tim's stamp inked with his Mixed Media pad in Vintage Photo on the reverse of an old catalog card
  • The "Big Hugs" was typed on an old typewriter 
  • The plantlife is from various stamps inked with Tim's MM pad in Vintage Photo 
I plan to give the "Thinking of you" to a friend whose son is in basic in the army.  I don't have plans for the "Big hugs" yet...


Almost forgot-- here is the color graphic:

Wednesday, November 23, 2016

When life gives you lemons...

...duh!  You make a drink!

Card version!

Postcard version!  I used grey Sharpie on the back to draw the lines for the address.
That is one good thing about this alcohol ink paper-- very little of the ink bled through.

Looking straight-on...

At an angle... the Snow Cap mixative adds a mica-like faceted illusion.  Very cool. Very geologic.

I picked up these stamps by Jillibean on an endcap at Micheal's two weeks ago... cheap!  Couldn't resist.

Supplies and notes:
  • Jillibean stamps inked with Tim's Mixed Media ink in Hickory Smoke (postcard) and Archival in Jet Black (card version)
  • Adirondack alcohol inks in Sunshine Yellow, Butterscotch, and Snow Cap mixative
  • I used Ranger alcohol ink paper for both of these... I bought it the same day I bought the stamps.  I am not "way into it"... I guess I need to play with it more.  I mean, it's thick and the ink doesn't go right through, but I felt like it impeded some of the "traveling" that alcohol ink does on other surfaces.
  • For the card-version, I edged the panel with Versamark and heat embossed with Black Recollections
  • The card version has DCWV paper from the "Hey Sailor" stack in the background 
I'll share this at Inkspirational's current challenge:
Nothin' says "chill" like a cocktail!

Hola...

Last week's challenge at SOS was to use something on your desk... well, I took it to heart.  I was especially motivated after I posted a picture of my desk and was like, "WHOA!  I got some stuff to use up!"


Supplies:
  • The back panel is an old catalog card coated with a layer of Teresa Collins modelin paste through a stencil made with a Tim Holtz die.  This was made in the past month.
    • After that dried, the panel was sprayed with Dylusions inks
  • The front panel was made a loooonggg time ago.  I mounted it above the base panel with some Ranger adhesive foam in black.
    •  It appears to be watercolor paper with some wrinkle-free Distress.  
    • The corners were clipped with an ancient Fiskars punch.
    • The focal stamp is a favorite of mine.  It was made by Invoke Arts, and heat embossed.
  • "Hola" was written with a Faber-Castell Pitt brush pen
I'll share this at the following challenge blogs... they are both running AG challenges... yay me!:

For Aletha

I work at a school in a small town and sometimes come across a library card with a name I recognize. It's extra-special when I come across the name of someone I know well, and in this case, it was extra-extra special: I found the name of someone I work with and call a friend!  How cool!  She was raised in my small town and then came back to teach at the elementary school she attended!


I think she will appreciate this little piece of history on a holiday tag.

Supplies and notes:
  • Library card, almost 40 years old, inked with Stormy Sky and Evergreen Bough DIs... then sprinkled with water drops to add to the snowy scene
  • Stampendous Frantage in Shabby Blue
  • Tim's metallic cardstock diecut with Mini Holiday Greens dies for the pine boughs, attached with matte Mod Podge
  • True Hemp metallic hemp at top
  • Tiny jingle bells affixed with Glossy Accents... they still rattle... I wouldn't say they jingle...
I'd like to share this at the following challenge blogs:

Tuesday, November 22, 2016

SOS: Warm and fuzzy...

Warm and fuzzy is the current challenge at Shopping Our Stash!

We are asking you to include something yielding warmth: a warm hat, a cup of cocoa, a fireplace...

Look through your stash and see what could bring warmth!  (In my neck of the woods, I'm "feeling" this challenge-- it snowed non-stop all Saturday... brrrr!)

I made a little "get well" tea pack... tea reminds you of warmth, doesn't it?:


Supplies and notes:
  • Glassine bag is actually from old catalog cards
  • The tag is a part of an old catalog card, cut with a seldom-used blade on my paper cutter and then coated with a thin layer of gesso, as I wanted to mute the bold text but not hide it completely.
  • Broken China and Shabby Shutters DI daubed through a Hero Arts stencil and used to edge the tag
  • The sentiment was stamped with an old alphabet set from Target years ago, inked with Vintage Photo mixed media ink
  • The greenery was the last of the diecut pieces on my desktop from weeks ago.  I coated it with Distress Collage Medium in Matte and covered it with Antique  Linen Distress Glitter
  • The dictionary definition was cut from an old dictionary used for crafts.  I adhered it with Distress Collage Medium also.
  • The twine is pretty new... I got it from The Dollar Tree along with a coral color and a pale yellow!  Score!
  • In the packet, I also included some sequins I've had for years... they are mint, white, and gold.  

See you over at Shopping Our Stash!  I always love to see what people create from their neglected stashed items!

Sunday, November 20, 2016

STAMPlorations fun

This has  been in the works for about 2 weeks:


Supplies and notes:
  • Vintage Bingo card coated with Teresa Collins modeling paste through a Tim Holtz Stripes stencil
  • White Linen Dylusions spray over the dried modeling paste, along with some water to thin it out and remove any harsh speckling
  • STAMPlorations marigold stamp inked with Ranger Archival in Jet Black on an old Nancy Drew (don't worry: it was being discarded because it was missing pages), then fussy-cut
  • The marigolds were sprayed with Postbox Red and Pure Sunshine Dylusions sprays 
  • The sentiment was typed on an old catalog card 
  • The greenery was cut with Tim's Mini Holiday Greens set out of some scrap paper. IRL, they are much more noticeable... in the pictures they are very subtle.
  • 7 Gypsies black masking tape added a little interest to the base-- I wrestled a long time (days) with what to mount the main panel on, but nothing looked right. I think I like it now.
I plan to share this at STAMPlorations for their November Theme/Sketch (I went with the theme):

I'll also add this to the STAMPlorations AG:

Z is for Zentangle!

I have this to present, with the majority of the work done  by my oldest daughter:


My 13 year-old doodled the Zentangle for me upon request, and now I'll give her the card to give a friend!  Win-win!

In case you didn't already guess, this was made for the current Sisterhood of Snarky Stampers challenge:

Supplies:
  • My big girl used a Faber-Castell Pitt to doodle on a panel of watercolor paper. She spent hours on this!  She loves to draw, and she's getting really good at it, but her fave thing seems to be mandalas... I'm always sharing Lauren's with her.
  • I daubed the finished panel with Picked Raspberry, Mustard Seed, and Peacock Feathers DI
  • The sentiment was stamped using a small uppercase old Target alphabet and the larger but lowercase Amy Tangerine stamps  (... anybody else see the irony here?) inked with Ranger Archival in Jet Black 
  • I made a smudge with the stamps so I added a bit of splatter using Black Soot Distress Spray Stain
Cheers!

Wednesday, November 16, 2016

Thank you!

Here's a little thank you:


Supplies:

  • Vinatge Bingo card coated with Ranger Transparent Glossy Texture Paste through Tim's StampAnon Tiles stencil
  • DIs in Mustard Seed, Evergreen Bough, Festive Berries, and Black Soot
  • "Thank You" scribbled with Liquitex gesso in black and accented with white.  I love the matte look of the gesso, which matches the Bingo's texture 

I would like to share this at Simon Says Stamp on Monday... Thanks!

Takk

I have seen cards like this on Pinterest: the use of dies and color in the negative spaces... I like it, though it's not necessarily "my" style.

Here it is:


Supplies:

  • Tim Holtz Mixed Media dies
  • Panel on watercolor in background sprayed with Dylusions in After Midnight and London Blue, then washed with water a bit to blend and speckle.
  • Distress Spray in Antique Bronze added to the panel for additional speckling.  Anybody switch their bottle to a different sprayer for this?  Every time I use it, I end up taking the damned lid off and splattering with the tube... rrr...
  • Thickers for the Norwegian sentiment (thanks... this *might* go to a Norwegian friend...)

I'd like to share this at the following challenges (more than usual... I know... I guess with my limited crafting lately I feel like I miss my peeps, so I'm letting ya'll know I'M HERE! LOL):